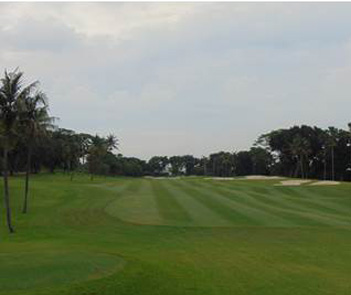
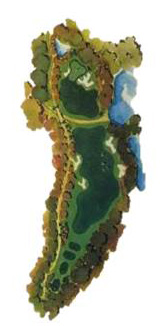
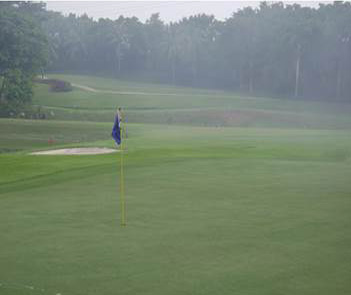
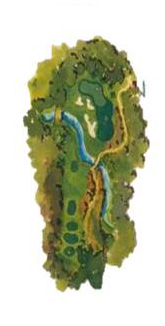
Palm Springs Golf and Country Club Karawang Course is conveniently located between the cities of Jakarta and Bandung, just off the Jakarta-Cikampek toll road Km 47, exiting through the Karawang Barat gate. It takes about 45 minutes from Jakarta, or just over an hour from Soekarno-Hatta International Airport.
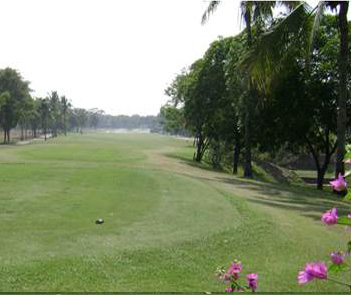
Palm Springs Golf Karawang is surrounded by many established Industrial Park such as KIIC, Surya Cipta, Kota Deltamas, and only 10 minutes from Karawang City. Currently infrastructure development in the Karawang area continues to be improved to improve accessibility to the Palm Springs location.
Located in this strategic location, making Palm Springs Golf Karawang a great place for refreshment among the hustle and bustle of the city of Karawang.
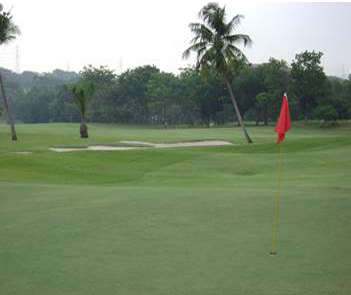
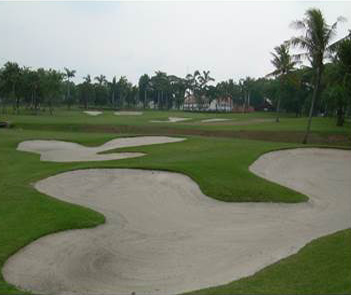
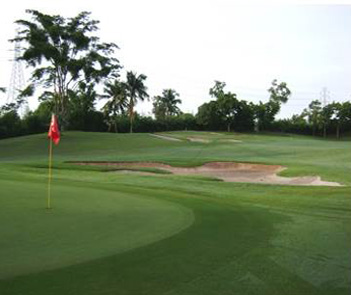
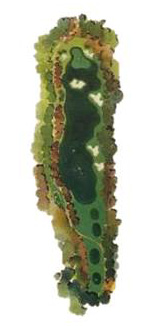
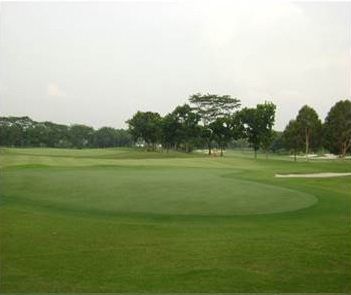
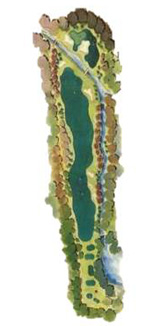
This downhill starting hole affers a receptive fairway guarded by a lone bunker on the right side and will play more difficult than it looks. A solid drive close to the Fairway bunker gives the best position for the challenging second into this tightly guarded green
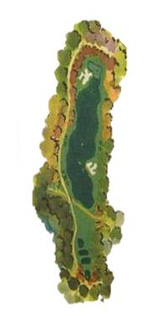
| Par | 4 |
| Index | 13 |
| Blue Tee | 349 |
| Red Tee | 317 |
| Pin Placement | TBA |
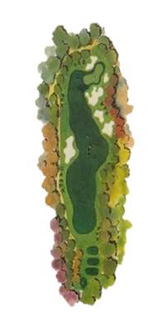
| HOLE | 1 |
| Black | 372 |
| Blue | 349 |
| White | 333 |
| Red | 317 |
| PAR | 4 |
| HI | 13 |
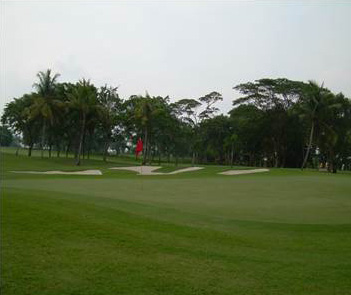
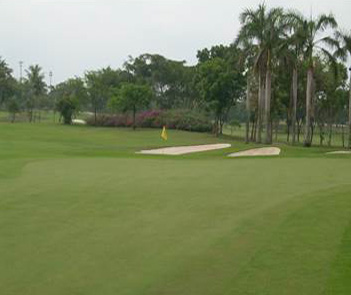
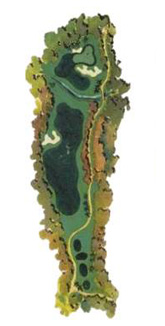
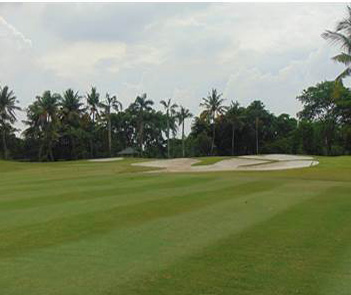
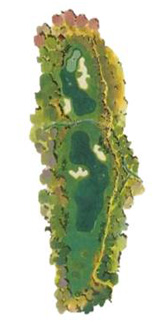
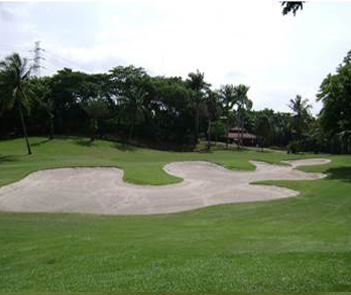
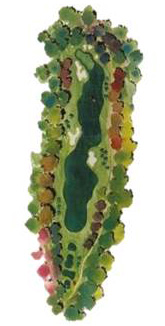
Wide open to this uphill landing area, balls hit short will get no roll. Fairway bunkers define the way up the right side, onto the long narrow green guarded by two bunker. Distance and accuracy are needed to land on the correct level of this two tiered green
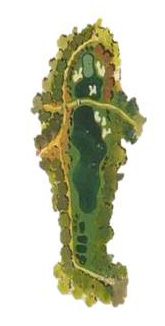
| Par | 4 |
| Index | 11 |
| Blue Tee | 321 |
| Red Tee | 287 |
| Pin Placement | TBA |
| HOLE | 2 |
| Black | 343 |
| Blue | 321 |
| White | 306 |
| Red | 287 |
| PAR | 4 |
| HI | 11 |
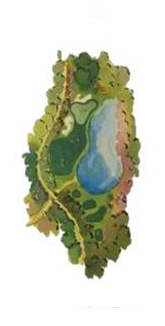
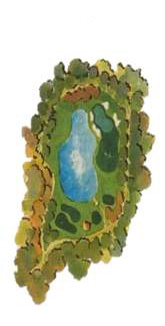
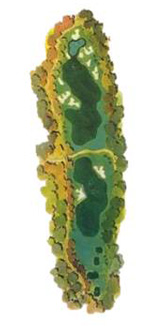
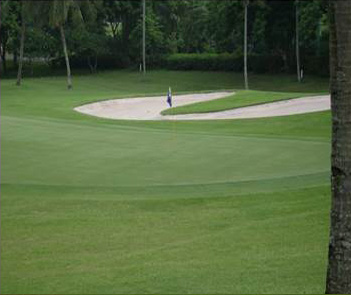
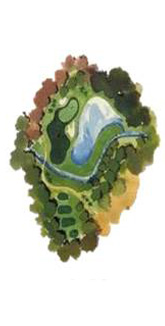
From the multiple teeing areas the green and its relationship to the lake has many looks. The large bunker on the left keeps you focused on the green, the large contoured green will accept most shots, A smooth putting stroke will give a good chance for making birdie here
| Par | 3 |
| Index | 9 |
| Blue Tee | 168 |
| Red Tee | 131 |
| Pin Placement | TBA |
| HOLE | 3 |
| Black | 188 |
| Blue | 168 |
| White | 148 |
| Red | 131 |
| PAR | 3 |
| HI | 9 |
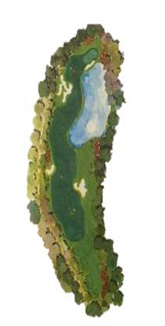
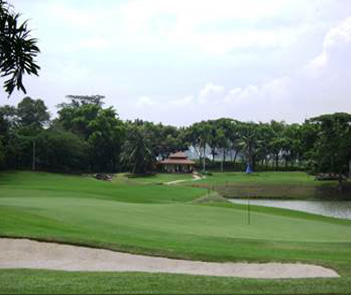
A long vista of green fairway, large bunker, a big lake and a small green tucked just beyond the share and protected by a strip bunker gives this hole ultimate beauty. Accurate positioning of second and third short is demanded on this strategic test of golfing skills
| Par | 5 |
| Index | 3 |
| Blue Tee | 456 |
| Red Tee | 389 |
| Pin Placement | TBA |
| HOLE | 4 |
| Black | 486 |
| Blue | 456 |
| White | 423 |
| Red | 389 |
| PAR | 5 |
| HI | 3 |

Drives hit long over the left fairway bunker have a big advantage here. The challenge for the approach from the middle becomes clear, a wide, angled green guarded by intimidating bunkers. With no mistakes this hole should yield some birdies
| Par | 4 |
| Index | 15 |
| Blue Tee | 331 |
| Red Tee | 293 |
| Pin Placement | TBA |
| HOLE | 5 |
| Black | 349 |
| Blue | 331 |
| White | 312 |
| Red | 293 |
| PAR | 4 |
| HI | 15 |
This par 3 is perched above the lake and guarded by deep protective bunkers. The undulating green provides unlimited challenges depending on pin placement. Club selection is the deciding factor in placing the ball on the putting surface between the front and back bunkers
| Par | 3 |
| Index | 17 |
| Blue Tee | 159 |
| Red Tee | 111 |
| Pin Placement | TBA |
| HOLE | 6 |
| Black | 173 |
| Blue | 159 |
| White | 142 |
| Red | 111 |
| PAR | 3 |
| HI | 17 |
The longest par 4 on the course is lined with bunkers down the right side. Reaching the upper plateau is critical for par here. The view of the green from left side is deceiving because of the front green side bunker. Long shots into this two level green need to be accurate to avoid the bunker around the green. A par here will indeed be earned
| Par | 4 |
| Index | 1 |
| Blue Tee | 383 |
| Red Tee | 300 |
| Pin Placement | TBA |
| HOLE | 7 |
| Black | 414 |
| Blue | 383 |
| White | 351 |
| Red | 300 |
| PAR | 4 |
| HI | 1 |
The course intensity builds with this very challenging par 5. Beyond the first set of bunkers, and post the drainage channel lies a sea of sand. Bunkers galore, both left and right guard the second landing area. Playing towards the left fairway bunkers will leave the best approach into this undulating green
| Par | 5 |
| Index | 5 |
| Blue Tee | 504 |
| Red Tee | 451 |
| Pin Placement | TBA |
| HOLE | 8 |
| Black | 540 |
| Blue | 504 |
| White | 474 |
| Red | 451 |
| PAR | 5 |
| HI | 5 |
Sweeping bunker on the left side of the fairway define the dogleg on this uphill finishing hole. Short hitters must be careful on their second chot to avoid the drainage ditch crossing the fairway in front of green. With the beautiful clubhouse as a backdrop to the green, concentration will be difficult
| Par | 4 |
| Index | 7 |
| Blue Tee | 354 |
| Red Tee | 314 |
| Pin Placement | TBA |
| HOLE | 9 |
| Black | 381 |
| Blue | 354 |
| White | 331 |
| Red | 314 |
| PAR | 4 |
| HI | 7 |
The downhill fairway is very receptive with a left side fairway bunker giving definition to landing area. Play safely across the stream to the left to avoid the large front bunker, or hit over the bunker to the gently contured green. This will surely become a favourite hole to the members.
| Par | 4 |
| Index | 10 |
| Blue Tee | 380 |
| Red Tee | 320 |
| Pin Placement | TBA |
| HOLE | 10 |
| Black | 408 |
| Blue | 380 |
| White | 360 |
| Red | 320 |
| PAR | 4 |
| HI | 10 |
A straight tee shot over the left bunker will put you in perfect position to chip to this rolling green. The right side presents a challenging second shot over the large, deep front greenside bunker. Birdie is possible, but not assured here.

| Par | 4 |
| Index | 18 |
| Blue Tee | 310 |
| Red Tee | 278 |
| Pin Placement | TBA |
| HOLE | 11 |
| Black | 321 |
| Blue | 310 |
| White | 296 |
| Red | 278 |
| PAR | 4 |
| HI | 18 |
A perfect tee shot from this elevated tee will land ove the left fairway bunker stopping short of the drainage ditch crossing the fairway. Safe play from the tee to the right will be tested by placing the second shot between the left fairway bunker. Avoiding the large bunker on the right will test your skills.
| Par | 4 |
| Index | 2 |
| Blue Tee | 396 |
| Red Tee | 304 |
| Pin Placement | TBA |
| HOLE | 12 |
| Black | 413 |
| Blue | 396 |
| White | 374 |
| Red | 304 |
| PAR | 4 |
| HI | 2 |
This downhill par 3 offers all the excitement, challenge and beaty a great hole. Play it safe, and hit the tee shot to the left in front of the green. Bunkers and the lake await on the right. A receptive green reward the brave players.
| Par | 3 |
| Index | 16 |
| Blue Tee | 152 |
| Red Tee | 120 |
| Pin Placement | TBA |
| HOLE | 13 |
| Black | 170 |
| Blue | 152 |
| White | 134 |
| Red | 120 |
| PAR | 3 |
| HI | 16 |
A tight landing area places a premium on the drive. The second landing is wide stream crossing i front of the green, which is protected by two deep bunkers, make this a three-shot par 5. Approach shot into this green are critical to achieving par here.
| Par | 5 |
| Index | 4 |
| Blue Tee | 479 |
| Red Tee | 384 |
| Pin Placement | TBA |
| HOLE | 14 |
| Black | 511 |
| Blue | 479 |
| White | 455 |
| Red | 384 |
| PAR | 5 |
| HI | 4 |
From the tee, the flag lies straight ahead. Strategic bunkers along the fairway and arond the green are reminders of accuracy and its benefits. Putting skills for this undulating green will prove rewarding. A beautiful hole
| Par | 4 |
| Index | 14 |
| Blue Tee | 337 |
| Red Tee | 298 |
| Pin Placement | TBA |
| HOLE | 15 |
| Black | 354 |
| Blue | 337 |
| White | 319 |
| Red | 298 |
| PAR | 4 |
| HI | 14 |

The longest of par 3’s, this last short hole presents this ltimate challenges for reaching the green and making a par. A stream in front of the tees must be crossed, three deep bunkers strecth across the slope in front of green, A back left pin placement will require the ulmost skill and courage
| Par | 3 |
| Index | 6 |
| Blue Tee | 178 |
| Red Tee | 87 |
| Pin Placement | TBA |
| HOLE | 16 |
| Black | 195 |
| Blue | 178 |
| White | 163 |
| Red | 87 |
| PAR | 3 |
| HI | 6 |
Downhill from the tee, this par 4 will test your confidence, go over the stream and strategic bnkers, or lay up. Taking more risk will be rewarded with a short approach into this humped back green, hit to the left and a large intimidating bunker comes into play on your second.
| Par | 4 |
| Index | 8 |
| Blue Tee | 311 |
| Red Tee | 218 |
| Pin Placement | TBA |
| HOLE | 17 |
| Black | 338 |
| Blue | 311 |
| White | 264 |
| Red | 218 |
| PAR | 4 |
| HI | 3 |
In the distance, the final green rests behind many bunker and a plateau, gently up the hill a generouse landing area is defined by fairway bunker both left and right. The templation for the big hitters will be to hit towards the green on their second. Bnkers make this hole mentally, physically, and visually a most satisfying finish to your playing experience.

| Par | 5 |
| Index | 12 |
| Blue Tee | 444 |
| Red Tee | 388 |
| Pin Placement | TBA |
| HOLE | 18 |
| Black | 466 |
| Blue | 444 |
| White | 424 |
| Red | 388 |
| PAR | 5 |
| HI | 12 |